Creativity is not born in a day or two. It is after years of continued focus and experience that one gains the so-called “creative mind,” which can work wonders. People who fall into the creative category are aware of the fact that creativity is the result of their mind and soul’s persistence to visualize their expressions on a real-virtual medium – far from the soulless and artificial works, where creativity is meager.
In fact, transforming your ideas into reality is similar to injecting life into your expressions, which is a task that tends to transcend our expectations. Designers can easily relate to a situation, where they are creating works that lack the soul – we discussed here. The reality is that before you set out, you need to believe in the quote – “no problem comes without a solution, though it might be complicated.” The best solution to boost your creativity is by imbibing in the user experience (UX) sketching into it.
The UX design is what attracts users and unless it is capable of attracting users – it is useless. So, blowing in life into your designs is important to ensure that it can provide a great UX to the users. The idea behind UX sketching is that this provides you with a design creation dais, wherein you can blow life into a variety of your expressions that communicate well with your people.
Here, we will discuss UX sketching and how implementing it in your designs can change the face of your website over time.
UX sketching – an introduction

As always, we need to be experimenting with a variety of ideas before we finally execute a particular design. And, this design idea that we fix needs to be the best one or the most exceptional of the lot. Once, you have considered your options, then, you can proceed over to put your work into action, and this is how we break UX design into a two-stage process:
Generating strategies
In the first phase of the process, we are often brainstorming and contemplating on a number of ideas before we finally fix one. And, none of these ideas that we have are fully ready to be executed – many elements are seen to be missing – which means this is quite incomplete.
Though you might be implementing a variety of approaches, deciding which is the best fit for your assignment is even more important along with the different constraints involved before you set out to execute the final design.
Attention-to-detail and filtration
The next step is attention to detail; it is important that you keep track of all the minutest elements that might need to be infused in and how you are going to develop these, which might actually render some strategies that might not fit into your goals.
You can focus on these and then filter the ones you consider trash in the long run.
UX sketching – wireframes: Introduction and classification
Not all wireframes are same. Every time, you plan a new design, please do keep in mind that none of your previous wireframes can be used again.
The in-depth details, style and color, and various other aspects of your design differ, regardless of whether you are going to exhibit these frames to your clients or others.
Another interesting fact about having an awesome wireframe design is that it will help you plant in a better solution every time, think and ponder, and receive feedback from clients – all saving a lot of time and effort.
Any wireframe moves through the following phases (at the basic level)
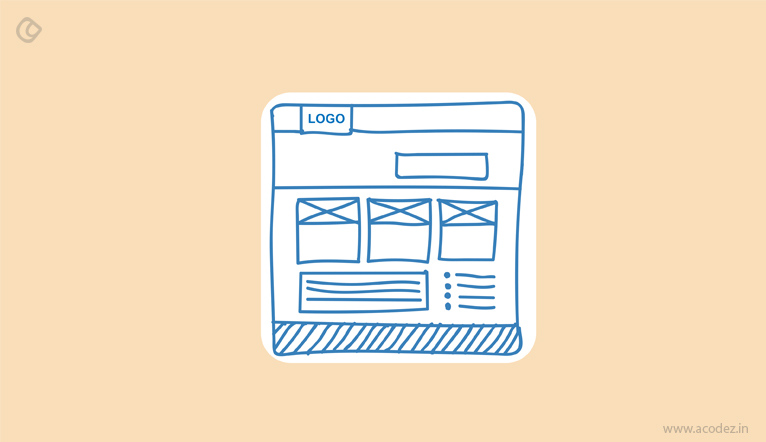
Brainstorming or contemplation – sketching out an idea
This is where we implement the basic ideas into the wireframes, and hence you give wings to your initial sketches. In the initial sketches’ stage, minimal colors are tried.
It is excellent to draw many basic sketches so that you can analyze the problem from various perspectives and try suggesting a variety of solutions to these.
Initial sketching gives way to generating numerous ideas for your single problem, helping you choose the best ones, going forward.
Let us explore the detailed phase
We now have a variety of ideas, from which we can choose the best and work upon it for producing significant results.
At this stage, though we call it as a detailed phase, it is not necessary that we consider every minutest element of the design in depth – since it is not so easy to explain certain aspects on paper.
Once we have everything on paper, sketching is easier.
Designing the mock-up of design
This can be avoided, but still we recommend that you implement the visual part of your design. Though there are a number of digital tools available – rather than depending on the paper – it is sometimes not an easy task to sketch in digital – but you can consider digital sketching during the initial phase – consider implementing it on paper at first.
Sketching components
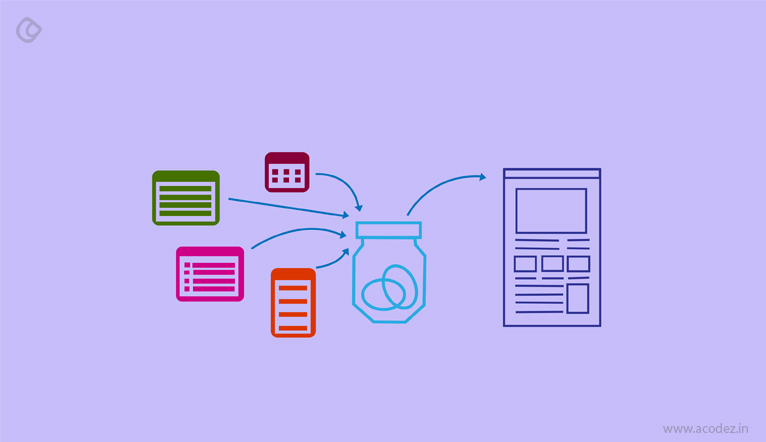
You can sketch out each of your elements at the first stage. You can sketch all the components that you plan to implement on your final design – make it in detail along with the spot you plan to place these.
You can even figure out the various states of the components and sketch these, as it will help you in the longer run.
In-depth glimpse of how we put all the various aspects into action
- Tools – how do you get about it: peace of mind is the most important thing for creativity to develop; so choose a spot wherein you think nothing can affect your creativeness – arrange your paper and other tools, including pencil, pen, sketches, etc., in order.
- Get started – you may start with the basics, such as drawing circles, icons, lines, and more.
- Giving life to your objectives – you know what to draw, and now you know what the story has to be. And, you can ponder into the details. Think what all things you want to draw. Whether it should be in detail or brief is your decision – but we recommend you sketch out your goals.
- Deadlines are imperative – you have an audience, and you need to be targeting them whenever you are up to something. Ensure who they are and how you can entice them. But, before ensuring that your end users will be happy, check your clients’ views. Also, you do not have to overdo it. Save all the precious time for your actual design.
Once you have all the tools, time and goals defined; here is how you can start your work-
- Sketching from the boundaries – You can start by sketching the frames – windows of the phone or browser, and even parts of the interface.
- Start with the main ingredients – These include the main content, menus and even the footer.
- Detailing needs to be implemented – Implement all the relevant items – but at this stage, you can limit this content.
- Keep a note on everything – If you introduce your sketches to your client – which is necessary – keep notes and annotations. But, this can help you if you happen to miss out on something.
- Which will be your idea – You have many ideas on hand – choose the best one in the lot.
- Keep a backup – it is always a great idea to keep a backup. Or even a picture of your sketch.
- Share it with all the people involved in the project – you can use either of the following methods:
- Evernote – the permalink can be used to link with your team members and others.
- InVision – you can upload the image to this app.
- Realtimeboard – allows sharing and mapping the images or you can even email the photo to the concerned people.
- Understandability – it is important to analyze whether the entire sketch is understandable and whether the elements you have implemented make sense.
Now let us check how to deal with the wireflow and how to organize it, which can be broken into the following approaches:
- Starting with the sequencing – this approach takes a screen after screen journey. You can plan it well: create a story with the points, wherever you need to take decision – here you are drafting the different path the user has to choose for the transition. Also, this is where you can sketch the screen interaction journey.
- Change in states – here you will be sketching the screen states of the various elements along with the actions that will drive the transition journey amidst these states.
- Screen elements and pinning it up – decide the screen that needs to be implemented, whether you are planning for micro-interactions or macros.
- Single or multiple platforms – this is not a tough task, but the experience that your single or multiple platforms will provide should be taken into consideration.
- Capacity – think about the scope of your user journey that you are planning to explain. Are you planning for one-user or multi-user interactions with the design you are going to develop?
Here are a few kinds of wireflow types that you can implement depending on your project and other factors:
Wireflow types
High-level flow mapping to overall flow
You can start by sketching the transition of your screens and the journey of how your product usage will fall into place. Also, you could think of sketching the user interaction with your system (optional). The user interaction journey is always the most important stage of UX design, which needs proper planning.
The flow of your screens
As we have already discussed, this forms an important part of the functional flow of the system that you have with you. Regardless of whether you have a straight sequence of screens or random ones, it is important that you implement this.
A schematic flow of navigation
Here is your chance to flaunt the screen, you will be building along with the options that it will showcase. The user journey develops from here – the options that they will have, the directions and the various parts of your app. This will help you identify the pain points and the spots wherein you need to pay more attention.
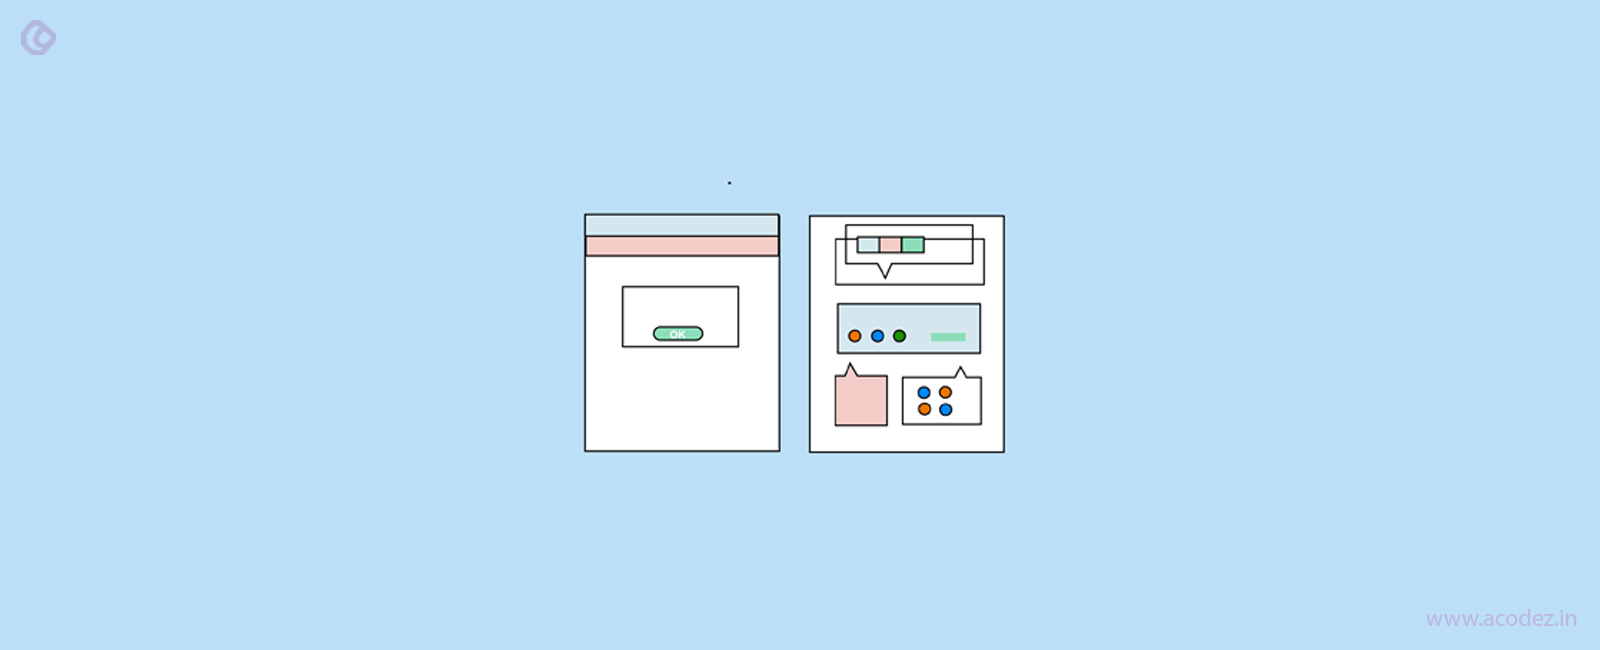
States of screens
Now the next stage is to sketch out the element states of your screen, which could be empty, the user takes action – uploading a file, uploaded state or error.
Now, a glimpse into the flow of your UX sketch:
Flow of UX sketch
The wireframe flow is very much similar to your wireframe. You might find a lot of similarities in almost all the steps, and here they are:
Defining your goals
Here is the point from where you will start sketching all that you need. All the different points that you need in your UX journey from the various components to the states of your elements need to be defined here.
The frames and transitions that you will include in your sketch
The screens and shifts that will be present in your design – implementing these will not be an easy task. Just think about the key points that you need and implement these and go about your task.
These are some of the simple things that you can implement in your UX sketching phase to make the process more simpler and easier.
Acodez IT Solutions is a leading UX agency in India. We offer the most modernized UX design services. Our experience over the span of 6+ years, working on different projects has helped us streamline a proper UX process which ultimately enables our team to create UX designs that ‘delivers’. Our knowledge of the best UX methodology has helped us provide the best solutions to our clients which helps them increase revenue from their business.
Looking for a good team
for your next project?
Contact us and we'll give you a preliminary free consultation
on the web & mobile strategy that'd suit your needs best.


Thanks for taking the time to put this post together. We use many of the tactics you have described but found a few new ones that we will definitely start using.
Good read here. thanks for sharing…