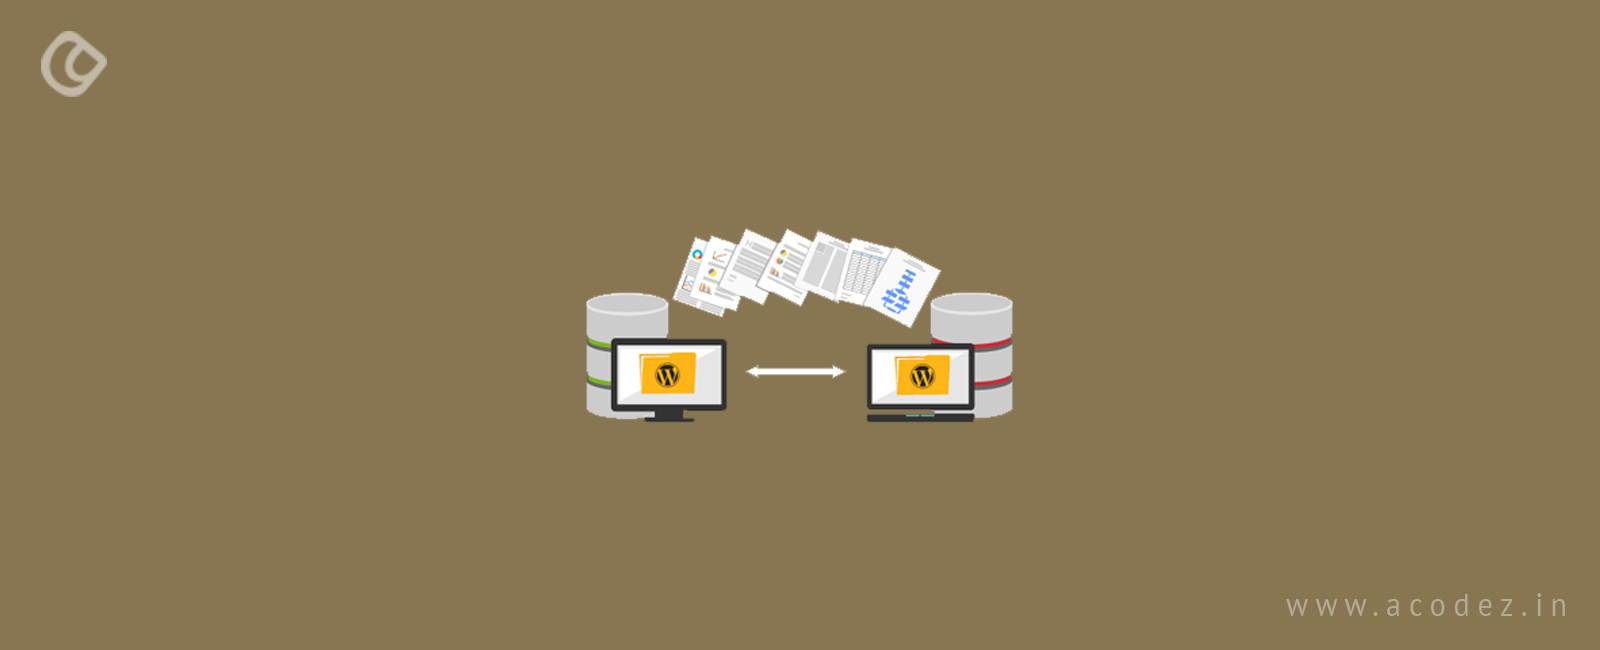
WordPress is one of the most commonly used platforms for powering websites. In the early days, following its launch, it was mainly used for setting up blogs. But over time, it got newer features and functionalities, and updates as we see, and this made developers think about using WordPress for venturing across various niches of the web, rather than restricting it to blog design alone. Here you can find the reasons for choosing WordPress.
When it comes to designing a website, you can find online tutorials on how to do it. However, for inexperienced people, it might be quite challenging if there is coding involved. So we decided to provide you with some help if you are planning to set up your WordPress site. Before setting up a new site, it is good to know the latest WordPress trends.
We will take you through the step-by-step process of setting up a WordPress site from the beginning. It is not at all a tedious task to set up a self-hosted WordPress site.
Prerequisites For Setting Up A WordPress Site
- Domain: What will people type into their browsers to reach your website? This is what will direct them to your website.
- Hosting: This is where your website will be put up.
- WordPress: The software that will power your website. You can now set up and install WordPress with one click.
Steps To Set Up A WordPress Website
So now, let us check what are the different steps to successfully hosting a WordPress site.
1.Setup
A self-hosted WordPress site is one of the best solutions if you are a beginner. Since it comes with many designs and add-ons, it will help you create a website of your choice and make it look like not-a-big-deal.
WordPress is available for free to be downloaded and can be used in building websites of any kind. However, the domain name and hosting would need you to pay some charges unlike ‘WordPress’, which is free.
As discussed, your website’s address on the internet is your domain name. Upon typing this into the browsers, your users can reach your site. Domain names can be availed at $14.99 for a year.
The next thing that you need for setup is web hosting. As discussed, this is the place where your website will live on the internet. Hosting costs start at $7.99 per month. This might sound too expensive for someone who is just beginning to set up their site.
Bluehost offers WordPress users a free domain name along with 60% off on web hosting services. So now, you have found relief for this. What you have to do is go to the Bluehost website in a new browser window. Click on the “Get Started Now” button, which would be green in color.
This takes you to a pricing page – here, you have to pick a pricing plan for your site. Some of the popular choices are ‘Basic’ and ‘plus’ plans. Next, click on ‘select’ for choosing the plan you’d like. Then, continue to the next step. Here, you would be required to select the new domain name.
It is ideal to choose a ‘.com’ domain name. It is better to choose a name that is relevant to your business, easy to spell and understand, and also to remember.
Find some tips on choosing an ideal domain name.
Once you have found your domain name, click on the ‘next’ button and continue. Here, you would require to provide information, such as name, email, address, and others.
If you need, there are optional extras that you can purchase along with the domain name. If you have a tight budget, it is better to skip these as you can always come back at a later time and pick them. Now, you are required to provide your payment information to complete the purchase. Once you are done with your purchase, you will receive an email, which will carry the details on how to login to your web hosting control panel. This hosting dashboard is where you will manage various aspects of the process, such as support, email set up and the most important of all, installing WordPress.
2.Installing WordPress
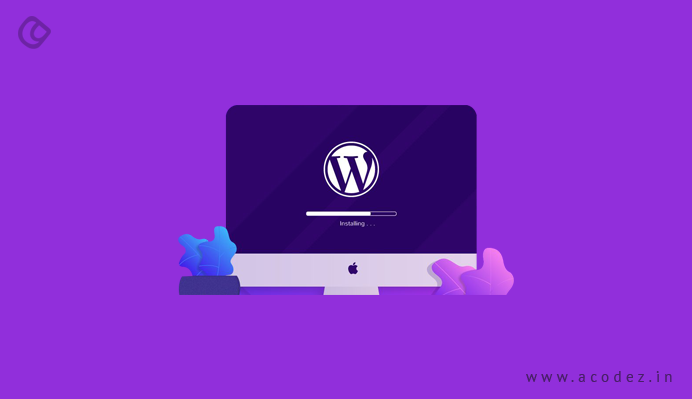
You have many icons that can be used to handle a variety of factors on your hosting account dashboard. You won’t need even half of these, which means you can simply ignore these. Now, scroll toward the website section on the control panel and click on the WordPress icon. Here, you will find Bluehost Market Quick Install screen – all you have to do is click on the ‘Get Started’ button for continuing.
Next screen – you need to select the domain name, where you have to install WordPress. From the dropdown field, choose your domain and then click ‘Next’.
Enter your website name, admin username and a password for the website that you are creating. If you want to change at a later time, you can do that in WordPress settings. Next, check all the checkboxes on the screen and click the ‘Install’ button to continue. The ‘Quick Install’ will start installing WordPress on your website. Also, you will get to see some website templates, which can be installed on your site. A success message will appear in the top header once the installation is successfully completed.
Next, click on the ‘Installation Complete’ link, which will take you to the screen with ‘WordPress login URL’ and password. Now, you have your first WordPress site ready.
Go to the WordPress login page – your login URL will appear somewhat in this format – “http://www.yourdomain.com/wp-admin“
Next, login to your WordPress site with the admin username and password that you used earlier. Now, move to the next step, which is choosing a design for your website.
3.Selecting The Theme

The appearance of your WordPress site depends on the theme that you choose. These are basically professionally designed templates, which can be installed on your website – to change the site’s appearance. Each WordPress site comes with a basic theme by default.
However, you can change this to meet the requirements of your business and based on your users’ interests and demographics – a large number of free and paid WordPress themes are available, which you can install to your site. From the WordPress admin dashboard, you can change your theme. All you have to do is visit the ‘Appearance’ -> Themes page – here, you have to click on the ‘Add New’ button.
The next screen will provide you with over 4,000 free WordPress themes in the official WordPress.org themes directory. You can sort these based on the popular, latest, featured and other feature filters, which include industry, layout, and others.
You will find a ‘Customize’ link under the Appearance Menu, which you can click to install your theme. Here, the theme customizer gets launched, which can be used for changing your theme settings to obtain a live preview of your website. It is not required that you finalize all theme settings instantly. You can customize these once you have added content to your website.
Now, we will take you through adding content to your WordPress site.
4.Adding Content To Your Site
Two default content types are available with WordPress and these are referred to as ‘posts and pages’. Posts come as a part of the blog and you can find these organized in the reverse-chronological order, i.e., it would display newer items first. Also, pages refer to those one-off type static content, including About page, Contact page, and Privacy policy. You may also need to make your website GDPR compliant. There are some good plugins that can make this task simpler. Your blog posts will appear on the front page of your website, which happens by default.
This can be changed in the settings and you can get any page to be the front-page of your website. If you want, you can always have a separate page for your blog or news section. You can even create a website with no blog section. Now, let us start adding content – add a few pages to your WordPress site. It is ok if you do not have enough content for these pages currently – you can edit and update them as per your convenience or requirements, as needed.
Next, go to ‘Pages’ -> Add New page to the WordPress admin area. This will take you to the page editor, screen. Here, you need to create a title for your page – let us call it ‘My page’. Next, you add content within the text editor below – add text, links, images, videos, audio, and others. Once this is done, click on the ‘publish ‘ button and it will go live on your website.
This process can be repeated by adding more pages to each section of your website. This can include About, contact or blog page, and others.
So if you want to add blog posts – what do you do?
Go to Posts – Add New to your WordPress admin area. Here you will see a screen just like the one you saw earlier where you can add pages. Add a post title and then add content to the visual post editor. Here you will find some extra options, such as post formats, categories, and tags. Click on save button to store your post as a draft or click publish button to make it available on your site.
We have completed the setup and installation of your WordPress site in four simple steps.
If you need help with setting up your WordPress site, reach out to us. We can help you.
Acodez is a web design and web development company in India offering web design services to our clients in India and abroad. We are also an SEO agency helping clients to reach great heights through our inbound marketing solutions. For more information, please contact us today.
Looking for a good team
for your next project?
Contact us and we'll give you a preliminary free consultation
on the web & mobile strategy that'd suit your needs best.


